A school security camera system should reflect how people, vehicles, and deliveries move through the campus. This guide explains how to prioritize entrances, circulation routes, outdoor areas, privacy, access control, network capacity, storage, and phased installation.
Discuss your school security camera system
What Should a School Security Camera System Cover First?
Start with primary entrances, visitor approaches, interior circulation routes, pickup and drop-off areas, and other locations where a visibility gap could affect safety or incident review. The exact camera count depends on the campus layout. A useful plan begins with a map of buildings, doors, walkways, parking areas, athletic spaces, service zones, and perimeter routes. It then ranks each location by traffic, exposure, lighting, and operational importance.
Prioritize entrances and exits
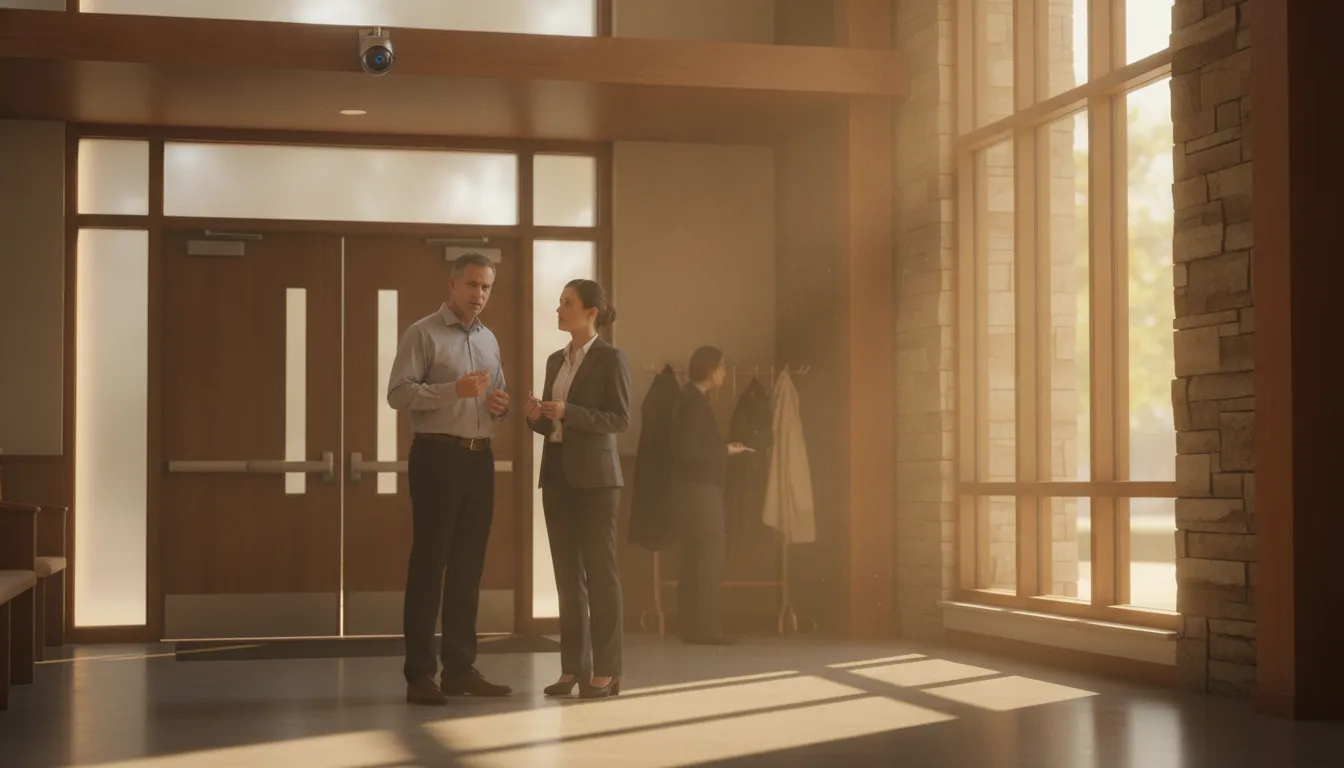
Major entrances usually deserve the first design attention. A camera should show the approach to the door and the area immediately around it, rather than capturing only the back of a person leaving the frame. Review the main visitor entrance, student entrances, staff doors, athletic entrances, loading doors, and secondary exits. Note which doors are used during arrival, dismissal, events, after-hours activities, and deliveries.
Consider the entire arrival sequence. A useful view may include the walkway to the vestibule, the reception approach, the intercom or visitor check-in area, and the door itself. If a camera is aimed through glass, test glare and changing light before finalizing the position. If a door is controlled electronically, plan how video, credential events, and visitor procedures will work together.
Map interior circulation
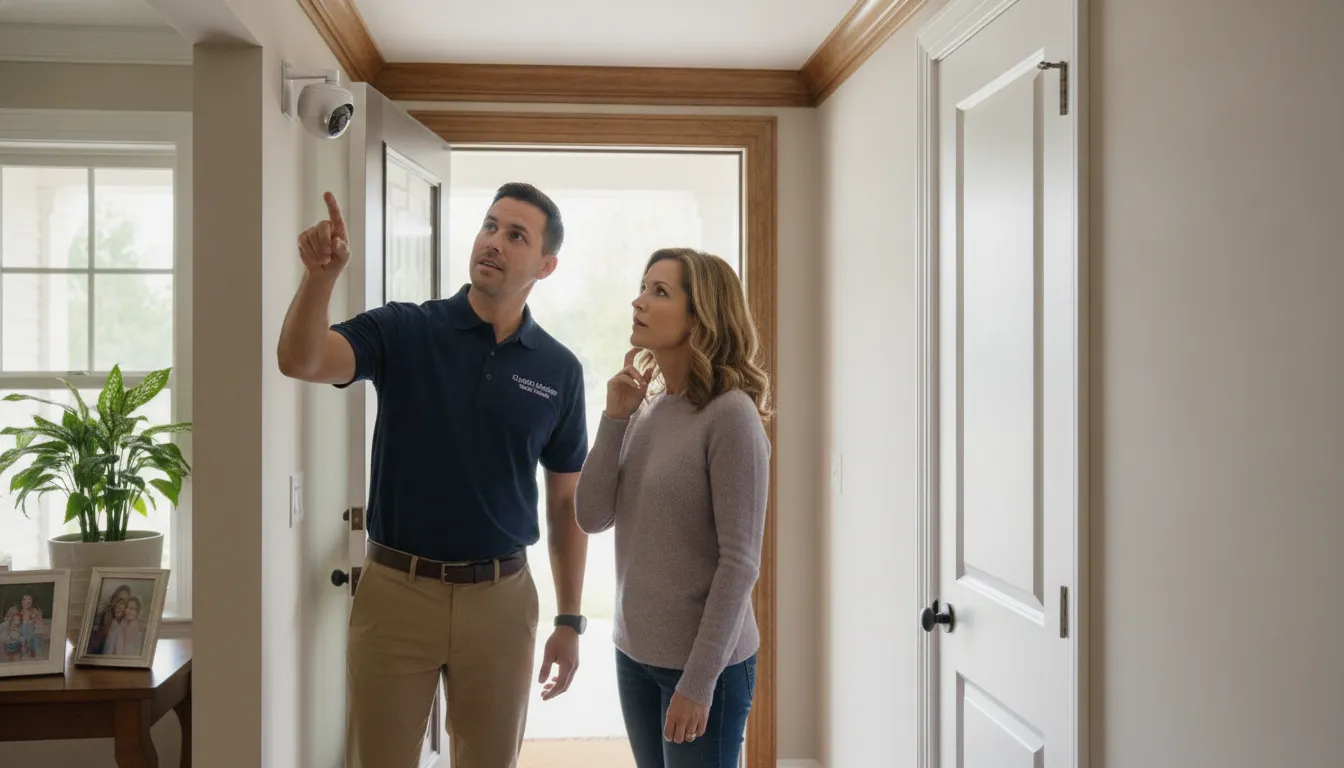
After entrances, examine hallways, stairwell approaches, intersections, and routes connecting offices, classrooms, cafeterias, gyms, auditoriums, and other high-traffic spaces. Passing periods and large events can change movement patterns dramatically. A camera at a hallway intersection may provide more useful context than cameras spaced at equal distances along a straight corridor.
Document blind spots created by corners, structural columns, doors, shelving, decorations, and seasonal changes. Identify where supervision is difficult during arrival, dismissal, lunch, and extracurricular activities. The purpose is not to record every square foot. The purpose is to create a defensible view of the locations that matter to the school’s safety and operational objectives.
Extend the plan outdoors
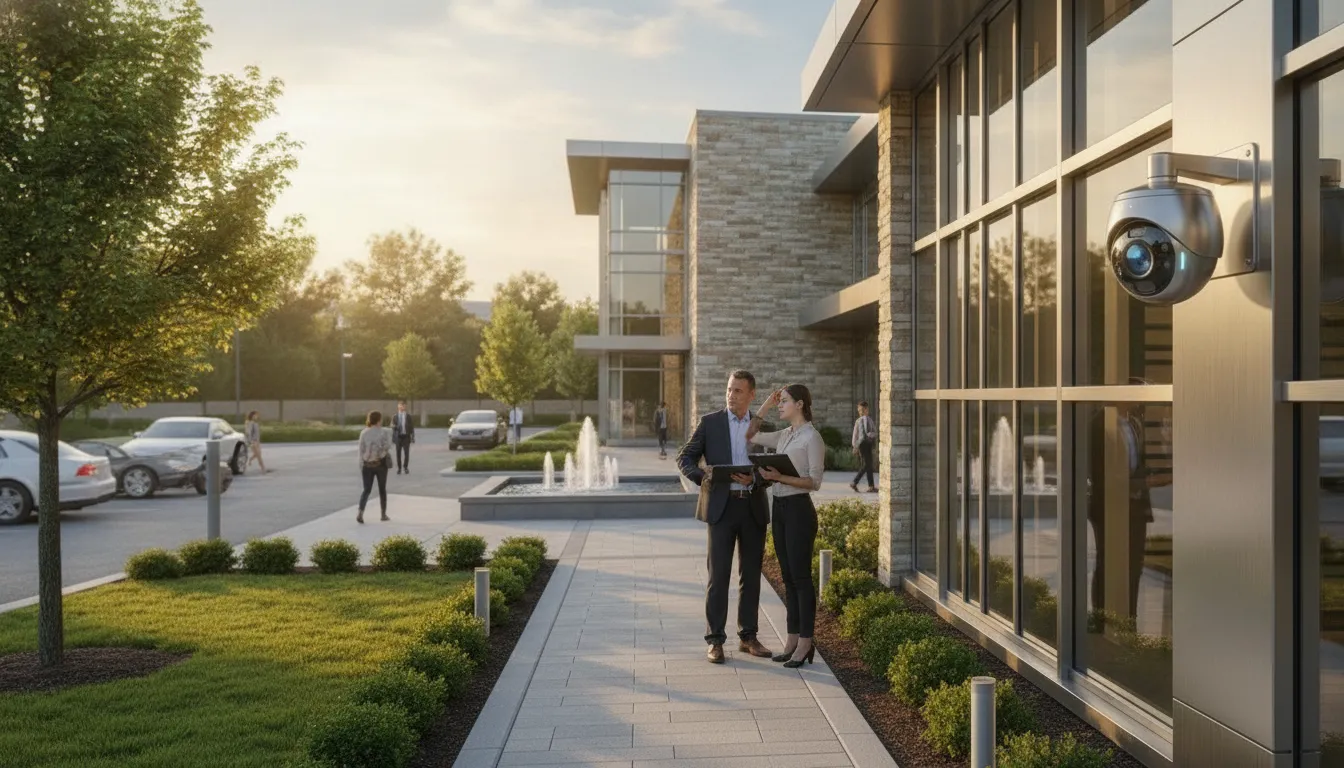
Outdoor coverage should reflect the way people and vehicles use the property. Include parking areas, bus approaches, drop-off lanes, sidewalks between buildings, gates, playgrounds, athletic fields, gathering areas, loading zones, and less visible sides of buildings.
Perimeter cameras should focus on routes that lead toward entrances or other protected areas. They do not need to monitor every inch of a property with equal detail.
- Primary vehicle and pedestrian arrival routes
- Parking, bus, and pickup areas
- Walkways between buildings and activity spaces
- Playgrounds, fields, and athletic entrances
- Loading zones, service doors, and perimeter approaches
Research on school security planning identifies parking areas, playfields, and walkways as important parts of outdoor coverage. Review the supporting campus coverage guidance.
Test each proposed camera position from the perspective of the event it must document. Confirm the view at different times of day. Identify obstructions created by landscaping or vehicles. Note seasonal changes.
A prioritized map gives the school a defensible starting point: entrances first, interior circulation second, and outdoor activity and perimeter areas next.
How Should a School Security Camera System Handle Privacy?
Privacy-aware camera design uses a defined safety purpose, avoids spaces with a strong expectation of privacy, limits viewing rights, and documents retention and disclosure procedures before installation. A camera project should be reviewed by school leadership, facilities, information technology, and other stakeholders who understand daily operations. District policy and applicable law should guide final decisions.
Use purpose-based placement
Each camera should have a documented reason for its location. An exterior door camera may support visitor verification. A corridor camera may help reconstruct movement around an incident. A parking-area camera may support vehicle and pedestrian visibility. Writing down the purpose helps the school evaluate whether the view is proportionate.
Bathrooms, changing rooms, and similar spaces should be excluded entirely. Classroom placement requires careful consideration of the safety objective, district policy, student and staff expectations, and the effect of continuous recording on the learning environment. A camera should be installed because its purpose is clear, approved, and operationally useful.
Control who can view and retrieve video
Privacy continues after installation. Establish role-based permissions for live viewing, recorded video retrieval, exports, and system administration. A facilities employee may need a different level of access than an incident response administrator. Review permissions when personnel change roles or leave the district.
Protect the video management system and its connected network with strong credentials, current software, restricted administrative access, and documented account ownership. Keep a record of who can export footage, where exports are stored, and how they are shared. These controls reduce unauthorized viewing and distribution.
Write a retention and incident policy
Retention should be based on district policy, operational needs, storage capacity, and applicable requirements, not an arbitrary number of days. Define how long routine footage remains available, when incident footage is placed on hold, who can authorize an export, and how preserved evidence is handled. Schools should confirm legal and policy questions with qualified counsel.
Invite teachers, administrators, IT personnel, facilities teams, and other affected stakeholders into the policy process. They can identify movement patterns and practical concerns that are not visible on a floor plan. Clear written rules make it easier to explain the system’s purpose without overstating what cameras can prevent or prove.
Which Cameras, Network, and Storage Choices Fit a Campus?
Equipment selection should follow the conditions at each location. Bright entryways, dim corridors, outdoor walkways, athletic fields, and busy pickup areas may require different lenses, mounting positions, illumination, weather protection, or image detail. A school security camera system should be evaluated as a complete design.
| Consideration | IP-based video | Legacy analog video |
|---|---|---|
| Image detail | Often supports higher-resolution video and flexible camera options. | May provide useful coverage, but older cameras or cabling can limit detail. |
| Integration | Usually supports modern video management, analytics, and network-based controls. | May require adapters, replacement hardware, or a gradual transition. |
| Expansion | Can scale when switches, bandwidth, and storage are designed for growth. | Can remain useful in selected areas, but expansion may be constrained. |
Plan the network before adding cameras
IP cameras rely on a dependable network. The design should include bandwidth, power, switch capacity, cable pathways, segmentation, and service access. Review the network with the school’s IT team. Security video should not be added without understanding its effect on existing systems or administrative access.
Structured cabling, equipment rooms, power availability, and cable distances can determine whether a proposed camera location is practical. A network plan should account for future cameras and changes to the campus. InVision Systems provides structured cabling planning guidance for teams considering infrastructure as part of a larger project.
Match the camera to the scene
Do not choose a camera solely because it has a high resolution number. Lens selection, field of view, mounting height, lighting, motion, and the distance to the subject determine whether the image will be useful. A wide view may show activity but provide too little detail. A narrow view may provide detail while missing context.
At night, assess existing lighting, shadows, glare, and the transition between indoor and outdoor spaces. For outdoor cameras, consider weather exposure, vandal resistance, maintenance access, and seasonal obstructions. Test sample views under representative conditions before approving a full rollout.
Estimate storage from actual needs
Storage requirements depend on camera count, resolution, frame rate, motion activity, recording schedule, retention period, and redundancy. Decide which cameras need continuous recording and which may use motion-based recording under an approved policy. Identify cameras that require longer retention because they cover entrances or critical access points.
Also plan for playback, exports, backups, user permissions, and system health alerts. A storage system that retains video but makes retrieval slow or confusing does not meet the school’s operational need. Document how staff will search for a time, camera, or event. Test that workflow before the project is accepted.
How Do Cameras Work With Access Control and Remote Monitoring?
Integrated video, access control, and remote monitoring can give authorized personnel better context around a door event, visitor request, or after-hours alert. The technology should support established procedures, not replace trained judgment or emergency services.
Connect video with controlled doors
When a camera is positioned at a controlled entrance, staff may review the person and surrounding conditions before responding to an intercom request or unlocking a door. The video view should complement visitor screening, credential rules, and staff training. It should not be treated as proof of identity by itself.
Connecting door events with video can make incident review more precise. An administrator may align a credential event, door state, and recorded footage around the same time. Define which users may access those records and how long they should be retained. Access control and video should be designed together.
Use remote visibility carefully
Remote video access can help designated administrators or security personnel understand conditions before they reach a location. It can support situational awareness during after-hours activity, facility alarms, or a developing incident. Schools should define who may access feeds remotely, when access is authorized, and how the connection is secured.
Virtual guarding can add a human monitoring layer to selected areas. An authorized monitoring professional may use a connected speaker to communicate with a person on site when suspicious activity is detected. InVision Systems describes virtual guarding and remote intervention as part of a layered security approach. A school should evaluate any such service against district policy, staffing, response procedures, and privacy expectations.
Remote access and virtual monitoring are not substitutes for emergency services, school staff, or a documented response plan. The system should help authorized people follow that plan. Technology should not make decisions without human oversight.
Why Does Phased Installation Often Work Better for Schools?
A phased installation can help a school district align camera improvements with funding, construction schedules, network readiness, and lessons learned. It can also reduce disruption by starting with high-priority locations. Each phase should be a usable, supported part of the overall design.
- Assess the campus and rank priorities. Walk the site with administrators, facilities leaders, IT staff, and representatives from affected departments. Map entrances, circulation routes, outdoor areas, equipment rooms, lighting conditions, and existing infrastructure. Rank locations by exposure, traffic, operational importance, and the effect of a coverage gap.
- Pilot representative locations. Start with a limited set of entrances, interior routes, or outdoor areas that reflect the conditions the full project will face. Review image detail, viewing angles, storage, user permissions, network performance, and the connection between video and school procedures. Look for glare, changing light, obstructions, blind spots, and workflow problems.
- Train authorized users and refine policy. Teach approved users how to view live video, search recordings, preserve incident footage, document exports, and follow privacy rules. Confirm who can authorize access. Use feedback from daily users to correct procedures and improve the next phase.
- Expand by documented need. Use pilot results, incident history, campus priorities, and available budget to select the next locations. Coordinate cabling, network, power, and construction work to avoid rework. Keep the final design consistent across buildings.
- Test and maintain every completed phase. Before acceptance, test live views, recording, playback, timestamps, permissions, alerts, storage capacity, and connected equipment under realistic conditions. Document approved camera locations, retention settings, responsible users, and open issues. Schedule routine inspections.
InVision Systems approaches security projects through consultation, custom design, professional installation, and ongoing support. Its security camera services include IP, HD-TVI, analog, and hybrid options. To explore a campus-specific design, review the company’s commercial-grade security camera systems.
Request a school security consultation
Frequently Asked Questions
How much does a school security camera system cost?
There is no single campus-wide price. Cost depends on camera count and type, campus layout, lighting, cabling, network capacity, recording, retention, integrations, installation, and support. A site assessment can identify priorities before a school compares proposals. Phasing may align spending with budget cycles.
Are security cameras allowed in classrooms?
Classroom camera decisions depend on district policy, the purpose of monitoring, applicable requirements, and privacy expectations. Cameras should never be placed in bathrooms or changing rooms. School leadership should review classroom placement with affected stakeholders and qualified counsel.
How long should a school keep security camera footage?
The right retention period depends on district policy, operational needs, storage capacity, and applicable requirements. A written schedule should cover routine footage, incident holds, authorized retrieval, exports, and deletion. Schools should confirm the final policy with district leadership and qualified counsel.
Can cameras integrate with school access control?
Yes. Video can be designed alongside controlled doors, intercoms, and credential events. Authorized staff can then have more context around a visitor request or access event.
Integration should preserve role-based permissions. It should also support existing response procedures.
Plan a School Security Camera System That Fits Your Campus
A school camera project is strongest when it begins with a campus map and ends with a documented operating plan. Prioritize the views that matter most. Respect privacy. Secure access to recordings. Plan network and storage capacity. Connect related systems carefully. Expand in manageable phases.
A site-specific conversation can help administrators turn those priorities into a practical design for buildings, entrances, and outdoor areas.